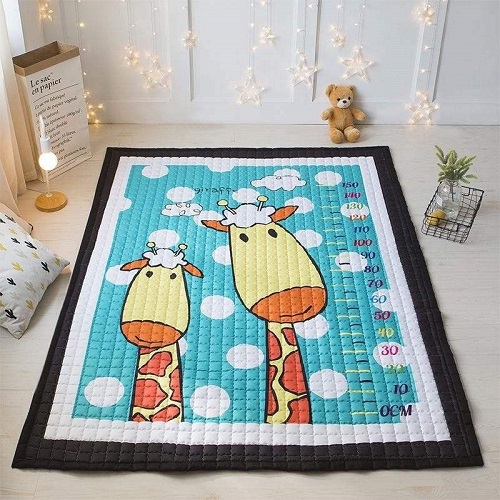
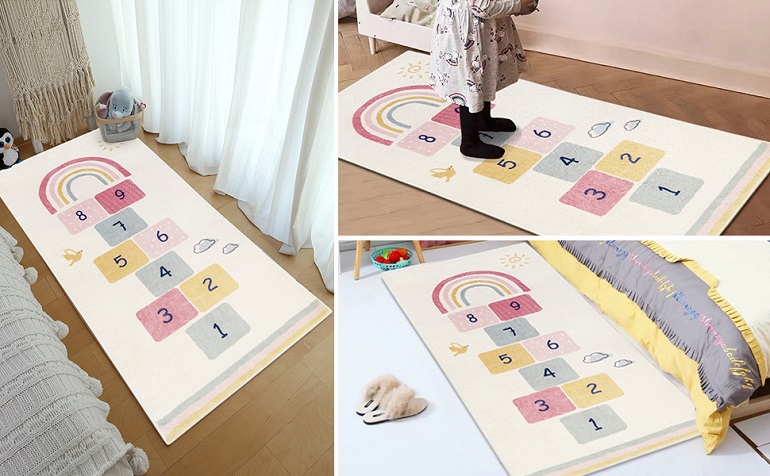
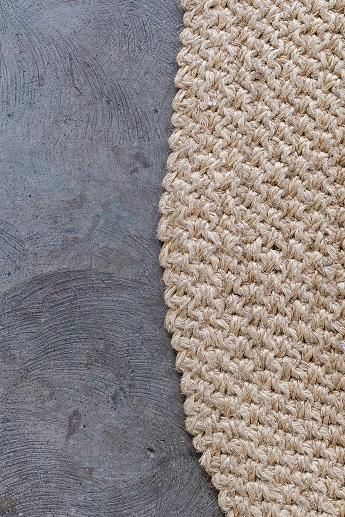
A play rug, also known as a children’s activity mat, is a wonderful addition to any child’s playroom or nursery. It provides a safe and engaging space for kids to explore, learn, and have fun.
Making a play rug can be a rewarding DIY project that allows you to customize the design and materials to suit your child’s interests and preferences. Here’s a step-by-step guide on how to make a play rug

Materials Needed
Before making the game carpet, we need to prepare the following materials.
Large Piece of Fabric
Choose a soft, durable, and non-toxic fabric that is suitable for children. Popular options include fleece, cotton, or felt. The size of the fabric will depend on how big you want your play rug to be.
Non-Slip Backing
To ensure safety during playtime, you’ll need a non-slip backing material. Non-slip rug pads or rubber shelf liners are good options.
Fabric Paints or Markers
These will be used to create colorful designs and educational elements on the play rug.
Paintbrushes or Stencils
Depending on your artistic abilities, you can use paintbrushes for freehand designs or stencils for more precise shapes and letters.
Scissors and Sewing Supplies
For cutting and sewing the fabric edges, if desired.
Steps
After preparing the materials, we start to follow the steps below to make the game rug.
Step 1: Design and Plan
Decide on the theme of your play rug. You can choose educational themes like letters, numbers, shapes, or animals, or opt for a fun and imaginative design with roads, cities, or landscapes.
Sketch the layout and design on paper before transferring it to the fabric.
Step 2: Prepare the Fabric
Lay the chosen fabric flat on a clean surface. Make sure it is free of wrinkles and any debris. If necessary, trim the edges to achieve the desired size.
Step 3: Paint the Design
Using fabric paints or markers, start creating the design on the fabric. If you’re using stencils, secure them in place with tape and carefully fill in the shapes.
Let the paint dry completely before proceeding to the next step.
Step 4: Add Educational Elements
If you want to make the play rug educational, incorporate letters, numbers, or other learning elements into the design. You can label objects, draw colorful shapes, or create a mini “alphabet” corner.
Step 5: Attach the Non-Slip Backing
Cut the non-slip backing to match the size of your fabric. Attach it to the backside of the play rug using adhesive or by sewing around the edges.
This will prevent the rug from sliding during use, ensuring a safer play area.
Step 6: Optional Finishing Touches
If you prefer a more polished look, sew the fabric edges to prevent fraying. You can also add a layer of padding between the fabric and non-slip backing to provide extra comfort for little ones during playtime.
Step 7: Let it Dry and Enjoy!
Allow the play rug to dry completely, and then it’s ready for playtime! Place it in your child’s playroom or nursery, and watch them enjoy hours of fun, imaginative play, and learning.

Conclusion
Making a play rug can be a delightful and creative project for parents or caregivers. It not only provides a safe and comfortable space for children to play but also offers an opportunity to foster their creativity and learning.
So, roll up your sleeves, gather your materials, and embark on this DIY adventure to craft a special play rug that will bring joy to your child’s heart!

